As a commercial truck driver, safety starts before you ever hit the road. A thorough CDL pre-trip inspection is not only a requirement for legality, but it ensures your truck is ready for the road. No matter if you are a seasoned trucker or a study-hall participant getting ready for your CDL exam, learning how to conduct a proper pre-trip inspection, is what separates you from being safer, receiving huge fines, and causing costly breakdowns. In this post, we detail everything you need to know about the CDL pre trip inspection checklist such as engine compartment, in-cab inspection, tires and wheels,… so that you can hit the road with confidence and peace of mind.
Why is the CDL Pre trip inspection checklist important?
The CDL pre-trip inspection checklist is important since it ensures road safety. This check of your truck or bus makes sure the main components of your vehicle are properly working and free from defects that may raise the danger on the highway. By catching the potential mechanical problems before they become actual problems, the pre-trip inspection prevents accidents, breakdowns, and costly repairs. It’s not just a good habit; it’s a lifesaving step that protects you and everyone else on the road.

Besides safety, the pre-trip inspection is legally mandated by regulations set by the Federal Motor Carrier Safety Administration. FMCSA regulations dictate that every commercial driver is obligated to conduct a vehicle inspection before each trip for compliance with federal safety standards. Failure to comply with these rules results in heavy fines, penalties, or even disqualification from driving.
CDL Pre-trip inspection checklist
A proper CDL pre-trip inspection can ensure your vehicle is safe for operation and within compliance with federal requirements. Given below is an expanded checklist of things you really need to inspect before hitting the road, supplemented by important things to remember:
Internal inspection
Engine compartment

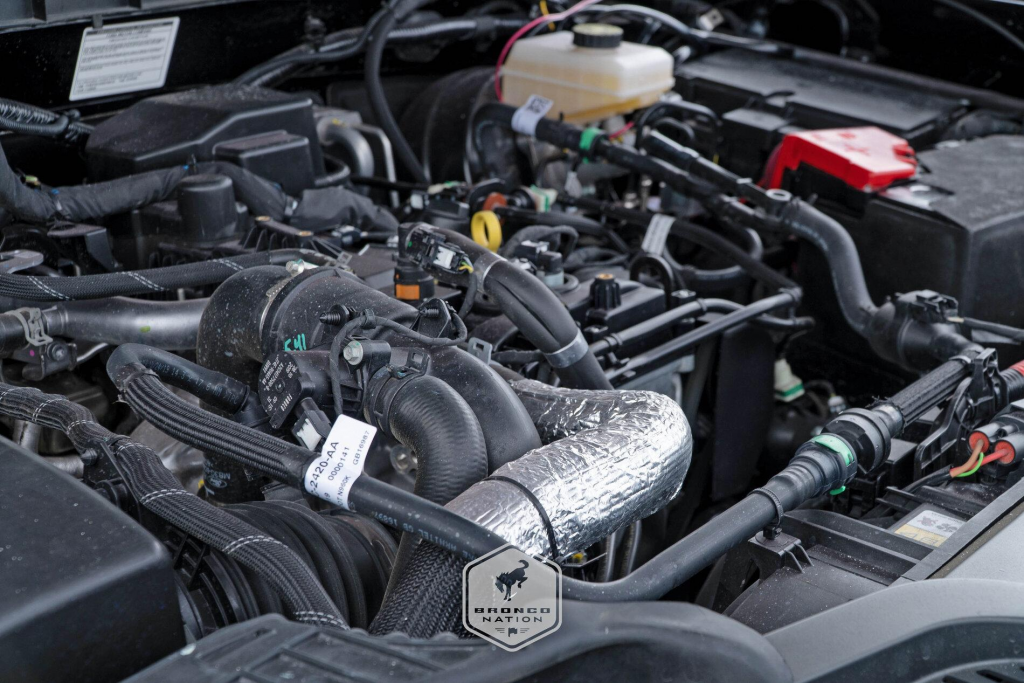
- Leaks/hoses: Look for leaks or damaged hoses. Inspect all the hoses to the engine, power steering, and cooling systems for cracks, bulges, and leaks. Make all connections snug and secure to prevent leaks that could affect vehicle performance.
- Oil levels: Locate the dipstick that measures engine oil and verify that the level of oil is within the normal range. Too little oil will cause overheating or damage to the engine, so make sure there is sufficient oil to keep your engine running right.
- Coolant level: Check the level coolant in the radiator or coolant reservoir to see whether it is sufficient, and thus within a range when it can be considered safe. Cooling is very critical to the engine from getting overheated, so make repairs immediately at the instance of any leaks or low levels.
- Power steering fluid: Check the fluid level in the power steering reservoir. The fluid level must not fall below the low mark. Operating the vehicle with a low level of power steering fluid will result in hard steering and could affect vehicle control. Ensure the fluid is at an appropriate level and that there are no leaks at the reservoir or hoses.
- Windshield washer fluid level: Ensure that the level of windshield washer fluid is at a recommended level for improved visibility while driving. Though minor, having enough washer fluid can make a difference when driving in conditions with dust, dirt, or insects on the windshield.
- Engine compartment belts: Inspect engine compartment belts – such as alternator, water pump, and fan belts – for wear, fraying, or cracks, along with correct tensions. A loose or damaged belt could impact negatively on the performance of your car and may lead to a breakdown.
- Hydraulic brakes master cylinder and brake fluid: For those with hydraulic brakes, the level of the brake fluid inside the master cylinder should be at or above the minimum mark. There should not be any apparent leakages around the master cylinder also. Lower levels of brake fluid would translate to reduced braking efficiencies; thus, optimal levels are extremely important.
- Safe start: Turn the engine on safely by ensuring that the parking brake is engaged and the transmission is in neutral or park before starting. This way, you prevent unwanted motion of the vehicle when the engine is on. Immediately after starting, check there are no abnormal noises or shaking and ensure that all dashboard warning lights turn off while the engine runs.
Cab check/Engine start

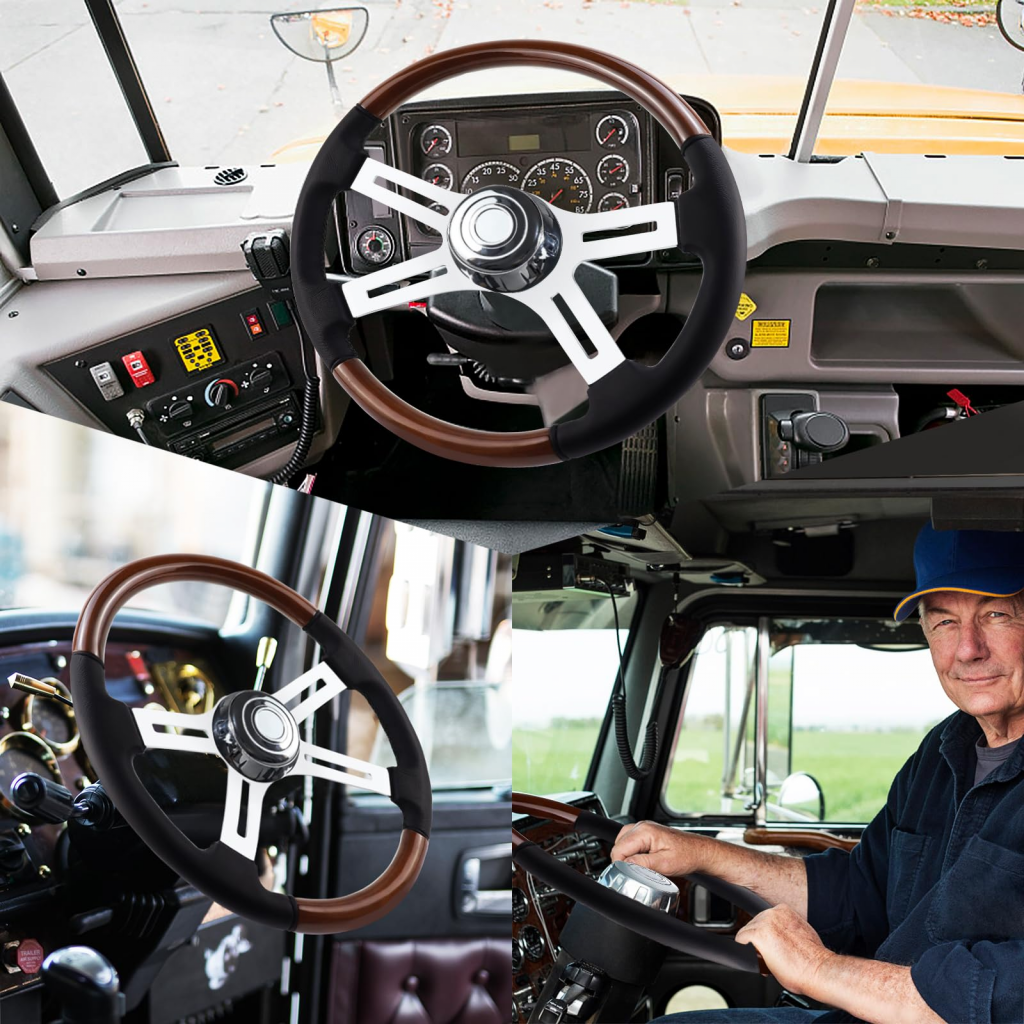
- Oil pressure gauge: When the engine is turned on, take a look at the reading of the oil pressure gauge to make sure it reads within an acceptable range, indicating normal pressure. Low oil pressure could indicate an issue with the lubrication of the engine. If this problem is not rectified then serious damage could result. The oil pressure should reach the level recommended by the manufacturer within a short time period after starting the engine.
- Temperature gauge: As the engine warms up, pay attention to the temperature gauge; it should read within a safe operating range. Overheating will result in engine failure; so make sure that the temperature stabilizes and does not exceed normal levels.
- Air gauge: Turn the key to the on position if your vehicle is equipped with an air brake system. Check the air gauge and make sure the air pressure is coming up properly. The pressure should rise to the governor cut-out level-usually between 100 and 125 psi-before you begin driving. This is an important safety gauge for braking.
- Ammeter: Check your ammeter or voltmeter to see the alternator is charging the battery. It should be in the normal range. This lets you know the electrical system is on and the battery is charging.
- Mirrors and windshield: Check your mirrors and windshield for cleanliness, cracks, or damage. Adjust your mirrors as needed so you can see clearly. Ensure your windshield is free of obstructions and clean for clear sight lines.
- Emergency equipment: Check for the on-board availability of all mandatory emergency equipment such as fire extinguisher, spare fuses, reflective warning triangles. These are expected roadside in case of emergency and for safety reasons.
- Check optional emergency equipment: For those available, check optional emergency equipment like chains, emergency light, and first aid kit. This will be helpful in bad weather conditions and or remote areas.
- Wipers/washers: Turn on the windshield wipers and observe that they work and touch the windshield. Check the fluid level in the washer reservoir, spray the washer to test operation to verify it can maintain visibility during bad weather conditions.
- Lights/Reflectors/Reflector tape condition (sides and rear): Check operation of all lights: head, tail, turn and hazard. Reflectors and reflector tape must be clean and undamaged. They are an important part of the vehicle’s visibility to other road users, particularly at night, or in conditions of reduced visibility.
- Horn: Operate both the electric and air horn, if so equipped. The horn may be used only to signal in an emergency.
- Heater/defroster: Turn on the heater and defroster and check to see that they will provide sufficient flow and temperature. These accessories are important for comfort as well as visibility when the weather is cold.
- Parking brake check: Engage the parking brake and attempt to move the vehicle in gear slowly. The vehicle should not move if the parking brake is on properly. This is a needed safety feature to prevent the vehicle from accidentally rolling.
- Hydraulic brake check: For all hydraulic-brake vehicles, press the brake pedal down and hold it down with steady pressure. The pedal should not fall or feel spongy. This would indicate that your hydraulic system is operating properly.
- Air brake check: If your vehicle is equipped with air brakes, do an airbrake check by bringing the air pressure up gradually, then, with the engine off, let the air out of the brakes. Listen for air leaks and check to see that the system holds the pressure. Next, turn the engine back on, build the air pressure up again, then allow the brakes to take hold. You do this by releasing the brakes, and then you check your low air pressure warning device and your parking brake.
- Service brake check: Drive slowly, apply the service brake, and determine that it slows or stops the vehicle smoothly and pulls to neither side. This will help ensure brakes are balanced and working properly.
- Safety belt: Check that the safety belt is securely mounted, in good condition, and operates properly. Fasten snugly before driving for the best protection from sudden stops and accidents.
External Inspection
Steering

- Steering box/hoses: Check the steering box to see if it is securely fastened with no obvious cracks, leakages, or loose bolts. Check the hoses of the steering box for any signs of wear like abrasion, bulges, and cuts. Check for no leakages of any fluid which could enter the steering mechanism.
- Steering linkage: Inspect the steering linkage-the pitman arm, drag link, and tie rods for proper securement and absence of excessive wear or looseness. Verify that all castle nuts and cotter pins are in place and properly tightened for stable and responsive steering control.
Suspension

- Springs/air/torque: Check the leaf spring, air bag, or torque arm suspension system. Ensure leaf springs are not cracked, broken, or missing; air bags do not leak or show any visible damage. Torque arms should be securely attached without showing wear since these are responsible for stability and smooth operation.
- Mounts: Check all mounts, including suspension and engine mounts, to see that they are securely fastened, not cracked and show no evidence of damage or missing bolts. Components that are firmly mounted cannot move excessively, which can help maintain vehicle control.
- Shock absorbers: Shock absorbers-check that the mounting is secure at both ends with no leaks or visible damage. Good shock absorbers will give a comfortable, well-handled ride because it will perform a correct absorption of road vibration and bumps.
Brakes

- Slack adjusters and pushrods: Check the slack adjusters and pushrods are properly secured with no visible damage. Pull each pushrod brakes released, less than one inch movement of the rod should take place. For proper braking action this will be an important adjustment.
- Brake chambers: Inspect all brake chambers for cracks, dents, or leaks and check to see that they are securely fastened. Cracked, leaking, or otherwise damaged chambers can seriously affect braking performance so proper functionality must be ensured.
- Brake hoses/line: Inspect brake hoses and lines for abrasions, bulges, or cuts. Check that there are no leaks, because loss of brake fluid or air will severely diminish braking power and safety.
- Drum brake: Check the drum brake for cracks, dents or visible signs of wear. The drum should be free of contamination such that it would affect braking performance and extend stopping distances.
- Brake linings: Brake lining-the linings are not completely worn down and a thickness can still be seen. Worn linings decrease braking efficiency and can lead to hazardous conditions when stopping.
Wheels

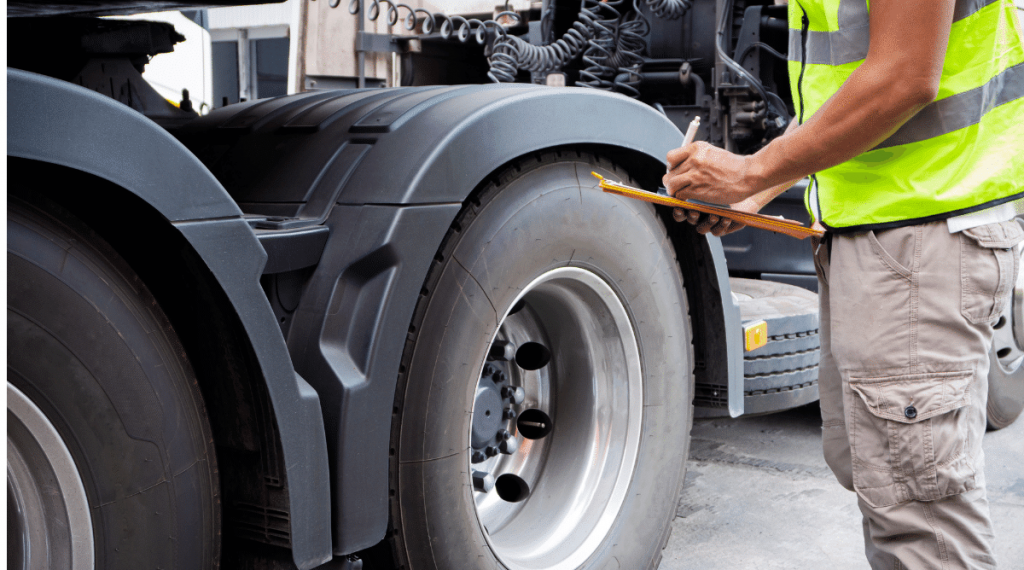
- Rims: Check for dents, cracks, and rust in the rims. Any of these defects in the rims can lead to tire defects and should be replaced to ensure stability and integrity of the tires.
- Tires: Check tire condition for appropriate inflation, tread depth, and look for any cuts, abrasions, or bulges. Tires are properly treaded at a minimum of 4/32 inch on the steering axle and 2/32 inch on all other axles, with no visible damage.
- Hub oil/Axle seals: Check the hub oil and axle seals for leaks. The oil level should fall with-in recommended range; otherwise, it may cause axle and bearing damage in case of leakage or low level.
- Lug nuts: All lug nuts should be checked for tightness and security. Any evidence of rust trails or shiny threads is an indication of loosening nuts and thus needs tightening.
- Spacers or bud spacing: Check that there is appropriate spacing between the duals to prevent any obstruction or rubbing. If spacers or bud spacing is used, ensure they are installed and correctly spaced apart to prevent tire wear or further damage.
Side of vehicle

- Doors/mirror/windows: The doors can be opened and closed easily and closed tight, mirrors and windows are clean, not cracked, or have other damage that obstructs the driver’s visibility; are properly adjusted for safe driving.
- Fuel tank: Look for leaks or damage in the fuel tank and cap. Make sure that the cap is tight, and check the straps so that it’s properly mounted. This is just in case that movement or fuel spillage may occur.
- Drive shaft: Check the drive shaft for bends, cracks, or missing parts. It should be properly installed and not obstructed so as to ensure smooth power flow to the wheels.
- Exhaust system: Check that the exhaust system has no leaks, holes, or loose connections. It should be securely fastened and with no rust or damage. Leaks in it mean reduced performance and higher emissions.
- Frame: Check every part of the truck frame for any crack, bend, or rust. A good, solid frame provides key structural integrity, so check that there is nothing apparent that will weaken it.
Rear of vehicle

- Splash guards: Check that splash guards (mud flaps) are properly secured and undamaged. They should be of the right length to prevent road debris from being thrown upwards, protecting other vehicles and retaining road safety.
- Doors/ties/lifts: Check for tight latches on the rear doors, and tights on the ties; check any lift equipment for proper operation. The rear doors must latch tightly, the ties must be tightened securely, and the lifts must raise and lower smoothly without obstruction and with safety for loading/unloading.
Tractor/Coupling

- Air/electric connectors: Secure all air and electric connectors and free of debris or corrosion. Good connections mean good brake and lighting performance between the tractor and trailer.
- Air/electric lines: Air and electric lines should not have any cuts, cracks, or fraying on them. Also, they should not be tangled and reach the road to prevent possible damage.
- Catwalk/steps: Walk up and down the catwalk and steps. Ensure that they are securely attached and free of debris or other obstructions that could interfere with safe passage to access the trailer or cab.
- Mounting bolts: Check all mounting bolts for tightness and security. In case the bolts have loosened, the connection between tractor and trailer becomes weak and separation could take place.
- Hitch release lever: Verify that the hitch release lever is in the locked position and in appropriate working order. It shall provide sufficient retention on the trailer and only release when intended.
- Locking jaws: Check locking jaws for full closure around the kingpin to guarantee correct attachment between trailer and fifth wheel.
- Fifth-wheel skid plate: The condition of the skid plate lubrication and any crack or other damage. A well-lubricated skid plate minimizes wear and allows for smooth turning.
- Platform (fifth-wheel): The fifth-wheel platform should be checked for visible damage or missing bolts to ensure it adequately supports the skid plate for stability.
- Release arm: Ensure that the release arm is fully engaged and in the locked position, which would show the connection to the trailer was secure.
- Kingpin/apron/gap: Check the kingpin and apron for damage or wear. There should be no gap between the fifth-wheel skid plate and the trailer apron for complete contact.
- Locking pins: Check that all locking pins are in and secured to prevent any movement of the fifth wheel during transit to maintain the trailer being fully secured.
- Sliding pintle: Check for proper positioning and locking. It should be free from damage since this becomes one of the parts that stabilize trailers with different weights.
- Tongue or Draw-bar: Check for the tongue or draw-bar for cracks, bends, or other forms of damage. The same should be in good shape to handle towing forces.
- Tongue storage area: Ensure that storage place of the tongue is free of debris and secures properly the tongue against usage so that movement does not take place at the time of transit.
How to remember the CDL Pre-trip inspection checklist?
The whole pre-trip inspection checklist of the CDL can be frustrating to remember in the beginning, but once you get the right strategies, it will become easier than ever. Here are some useful tips that could help make the process smoother:
Using acronyms
Acronyms are probably the most useful way of remembering those many steps that a pre-trip inspection involves in your CDL. Here are some common acronyms which will help you remember so that you never miss any essential component:
- ABC: Abrasions, Bulges, Cuts. This acronym is usually used when checking tires, hoses, and any other flexible component for any kinds of damage that may pose a safety risk.
- BCG: Brakes, Coupling, Gauges. Just remember three critical areas inside and outside the vehicle.
- LIFT: Lights, Inspection, Fluids, Tires. It is a way for you to go through an exterior quick check of the vehicle concerning lights, fluid levels, and the state of the tires.
These acronyms reduce the process into smaller steps that are easily remembered, one step at a time, thereby making each step of the inspection more memorable and less likely to be forgotten.
Divide the truck into sections
One of the best ways to break down what can be a complex process, like a CDL pre-trip inspection, is segmenting the truck into feasible sections. This technique will not leave out any important pieces of machinery and will make it a neater process. Here’s how to do it:
- Front of truck (Engine Compartment): Go up and inspect the engine: oil levels, coolant, belts, and hoses.
- Driver’s side and fuel area: Fuel tank, mirrors, doors, and exhaust system.
- Coupling device: Fifth wheel, the kingpin, air/electrical hookups
- Trailer and rear of truck: Suspension components of the trailer, landing gear and lights.
- In-Cab Check: terminate with an in-cab analysis of the steering, brakes and dashboard gauges.
Focus on one section at a time so you can develop a much more organized process and you can more easily remember all parts of the truck to check.
Flashcards or visual aids
Some of the excellent ways to help in practicing CDL pre-trip inspection include flashcards and visual aids. Here’s how it helps:
- Simplify complex information: Flashcards can break down each part of the inspection into simpler ones, where individual components are easily remembered along with their functions.
- Visual learning: Diagrams or pictures of the truck parts allow the visual learner to attach names to the actual component for easier recall upon inspection.
- Quick review: Flashcards are portable and can be quickly reviewed during downtime, enabling quick review sessions that reinforce memory.
Mastering these tools will help you retain basic information and be better prepared for your pre-trip inspection.
It’s worth noting that the secret to passing the CDL pre-trip inspection is by practicing regularly. No matter which method you choose, repeatedly doing the inspection will make you confident and comfortable with the components of the truck and you will be more accurate each and every time.
FAQs
1. What is the FMCSA rule on pre-trip inspection?
According to FMCSA, before beginning each day’s work in a vehicle, the driver must make a pre-trip inspection. It is an evaluation that has to be done to make sure all systems of the vehicle are functioning properly and safely, and the driver has to sign it and note it in their report. If the last vehicle inspection report lists any deficiencies, the driver has to review that report, and by signing, acknowledge and certify that the necessary repairs were made.
2. What is the item most commonly overlooked during a pre-trip inspection?
The least conspicuous items or those that look minor can be easily overlooked in a pre-trip inspection but are very important to safety and compliance. They may include:
- Reflectors and lights: clean, not damaged, and operational.
- Depth of tire tread: While tires usually are always checked to see whether they are inflated and for any visible damage, the depth itself often goes unchecked.
- Presence and condition of emergency appliances, such as fire extinguishers, warning triangles, and spare fuses.
3. What does ABC mean in pre-trip?
ABC means no “Abrasions, Bulges, Cuts”. It’s the method using simple language that lets the examiner know you understand what has to be examined. The phrases chosen should be terms that the tester wants to hear and that are industry standards.
4. Who is responsible for conducting the pre-trip inspection?
A pre-trip inspection is the driver’s responsibility. He/she examines the truck to ensure that it will be safe to operate before he/she hits the road.
5. What is an acronym to remember during your pre-trip routine?
Many truckers use the acronym BCG for Brakes, Coupling, and Gauges as a quick mental checklist to remember the most critical parts of the inspection.
Final thoughts
A complete CDL pre-trip inspection involves many steps, all of which are crucial to your safety and everyone else on the road. By following our in-depth CDL pre trip inspection checklist, you will be preventing accidents, staying away from costly fines, and within FMCSA compliance. Of course, practice makes perfect, and soon enough, this will be second nature for your inspections. Stay safe, and drive responsibly!


